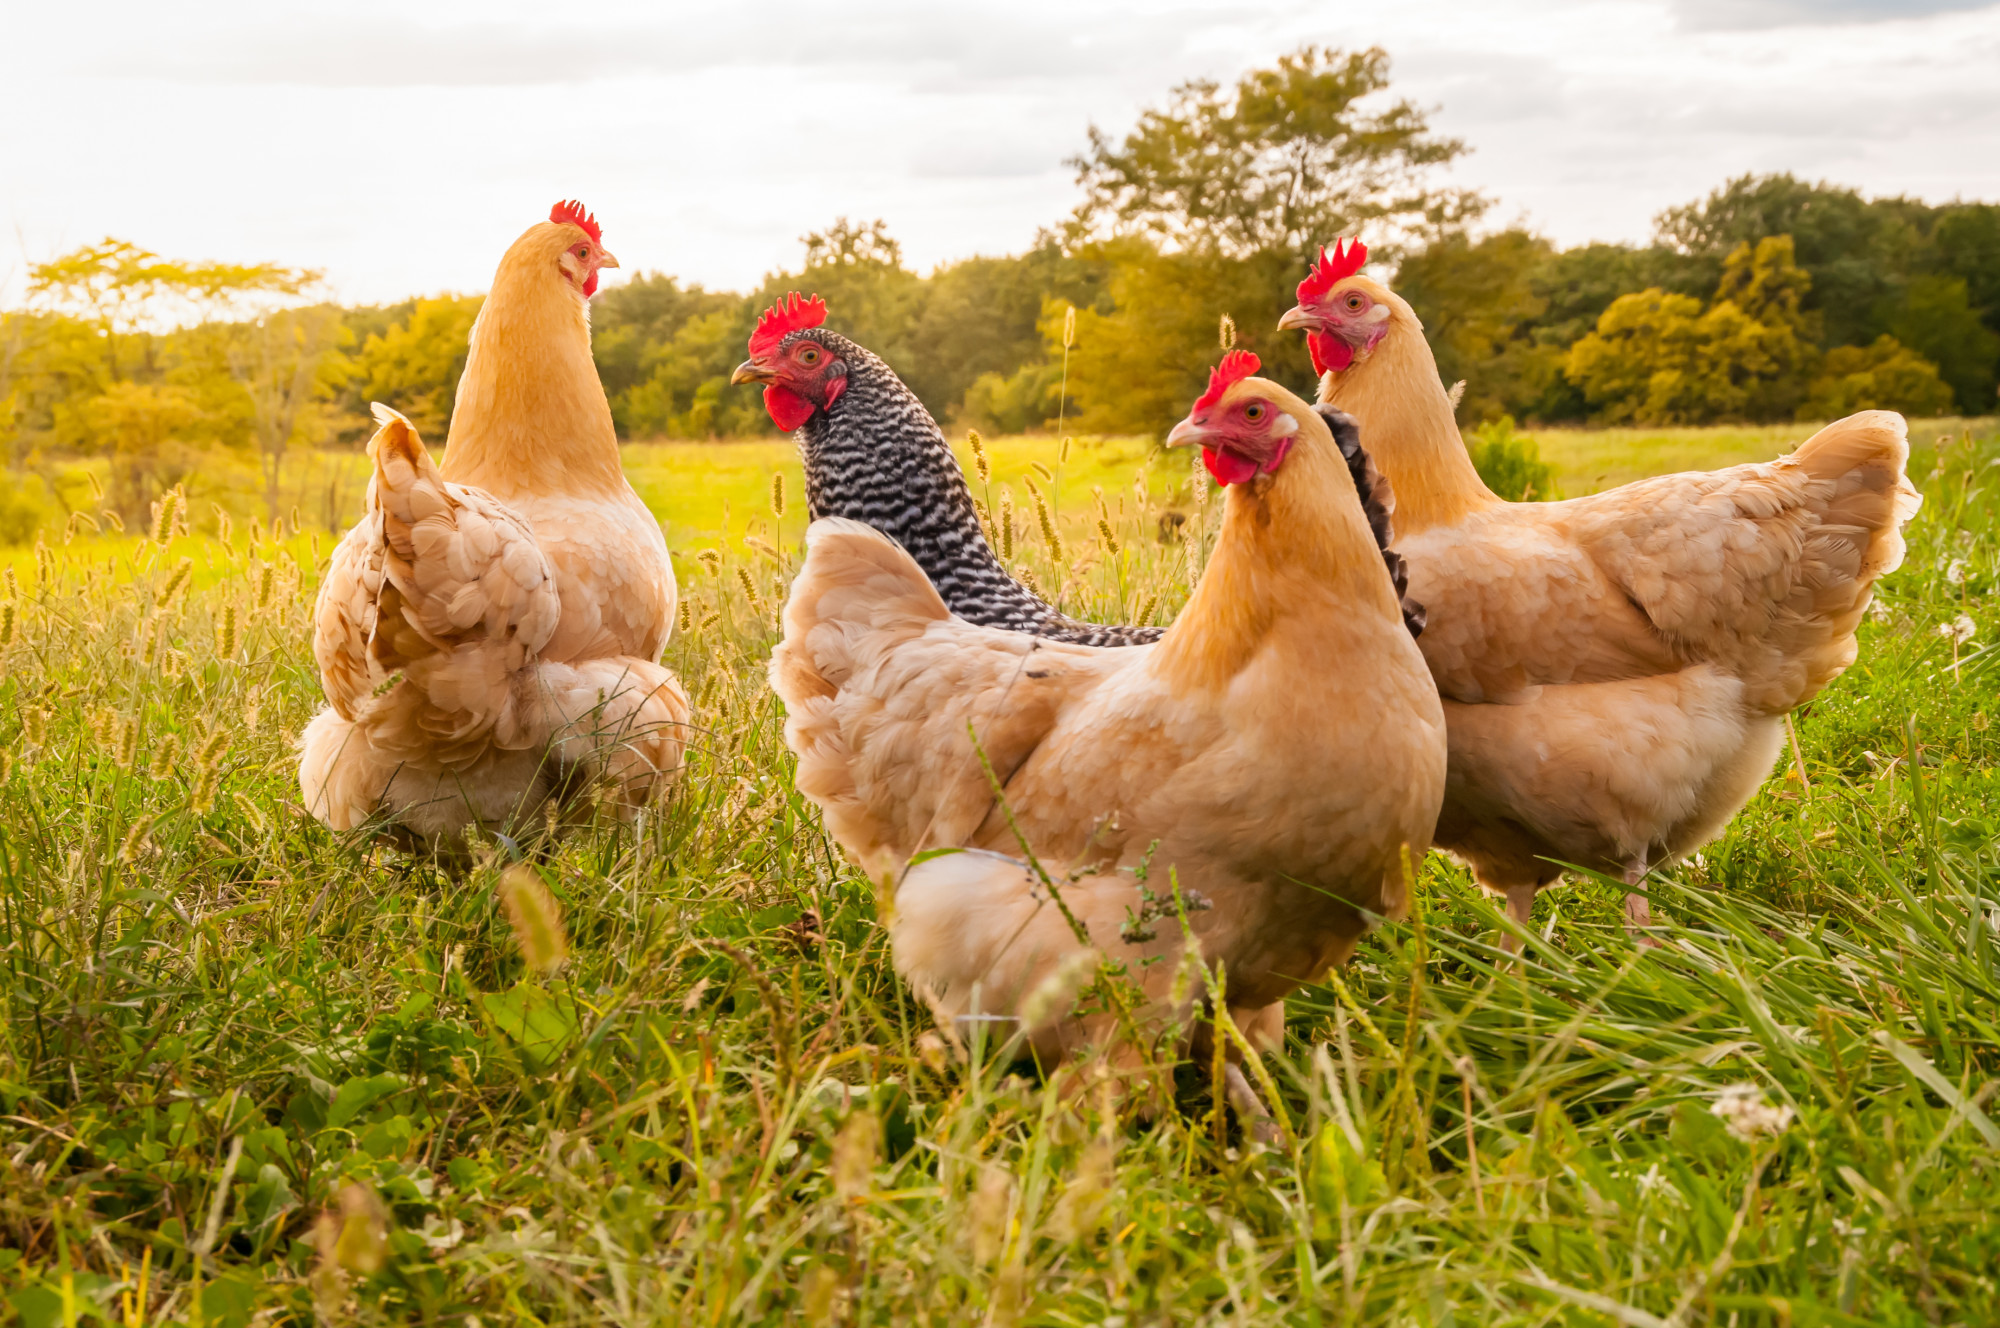
Having chickens can be an excellent and productive relationship, but do you know how to clean a chicken coop properly? Depending on how your enclosure is designed (check out these awesome layouts at Organicchickenfeed.com), it can be daunting trying to figure out how to clean each of the living areas in the coop.
If you want to learn the best way to clean out a chicken coop and finally figure out what to use to clean a chicken coop, then this article is a must-read! Our five-step process can help save you time and frustration each time you clean the coop!
How to Clean a Chicken Coop
Whether you’re tending to a flock, you’ve had for a while or bringing in some new chicks, making sure they have a clean place to live critical to their survival. To be successful with your flock, the easiest way to clean a chicken coop is by following these five steps!
Before you start, though, if you have a coop that already has chickens or had chickens previously, begin by shoveling and scraping out all the dirt, manure, cobwebs, and feathers. The safest and best way to clean a chicken coop is with white vinegar, so taking the time to scrape out any solid matter will help the vinegar work its magic.
Step One: Hose Everything Down
Once you’ve got a reasonably clean slate, give all the walls, floors, nesting boxes, and roosts a thorough soaking to remove dust and soften any remaining dirt or manure. Then scrape and sweep out any remaining solid matter.
Step Two: Scrub Everything
Make a solution of equal parts white vinegar and water, or straight vinegar if things are exceptionally grimy, and coat all the surfaces. Then taking a broom or brush, vigorously scrub everything down. Be sure to give everything a good scrub for optimal results!
Step Three: Rinse and Dry
After you’ve given everything a good vinegar scrub bath, rinse everything down again and allow the water to drain, or sweep it out if necessary. Then open all windows and doors to let everything air out. Sunlight is a natural disinfectant, and fresh air can help remove the strong vinegar smells, as well as any smells your chickens produce.
Step Four: Feeders and Bedding
Now that you’ve done the brunt of the work take some time to scrub down all the feeders and water sources to remove built-up grime. Add fresh hay to nesting boxes, so your chickens have a nice place to relax.
You may also want to invest in diatomaceous earth to sprinkle on the floors and in their nesting boxes to keep bugs away. You can even occasionally add a little to their feed to keep them healthy, year-round! Learning how to deter bugs will be a massive help for you when you’re collecting eggs!
Step Five: The Run
Whether your chickens are free-range or restricted to a smaller area, it’s essential to keep their outdoor space clean too. Scoop up any messes, fill in any holes in the ground, and rake up any feathers, sticks, leaves, and other stuff that make the place messy.
How Often Do You Clean a Chicken Coop?
Now that you know how to clean a chicken coop, how often does it need to be done? For the best results, it’s a good idea to go through this process every week. Your chickens do a lot of work providing nutritious eggs for you and your family, so shouldn’t they have a nice clean place to do live?
Depending on the number of chickens you have and their particular habits (like pooping where they sleep), you may want to do some maintenance every day. With the right steps in your back pocket, this process shouldn’t take more than 15–20 minutes each time you clean!
For more insightful articles about taking care of your feathered and furry friends, check out the other pet articles on our blog!

